Tag Archives | anemones

It’s All in the Vase – homegrown & handmade

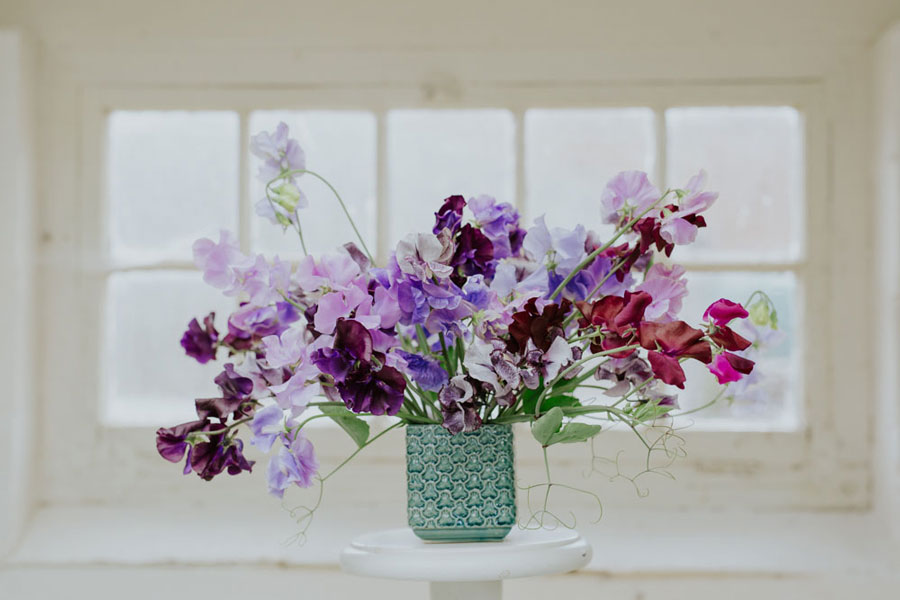
Here I am back in the blogging saddle, with my usual January good intentions. I thought I would focus on a recurring theme that shaped 2016 – the vase– and how it has motivated me to introduce a series of new floristry workshops for the season ahead.

This preoccupation with what to put my flowers in has been bubbling away for a few years now with my attempts to master the potter’s wheel and fulfil my dream of setting up a ceramic studio here at Green and Gorgeous, where I would throw tailor-made vessels to perfectly complement my garden-grown beauties.
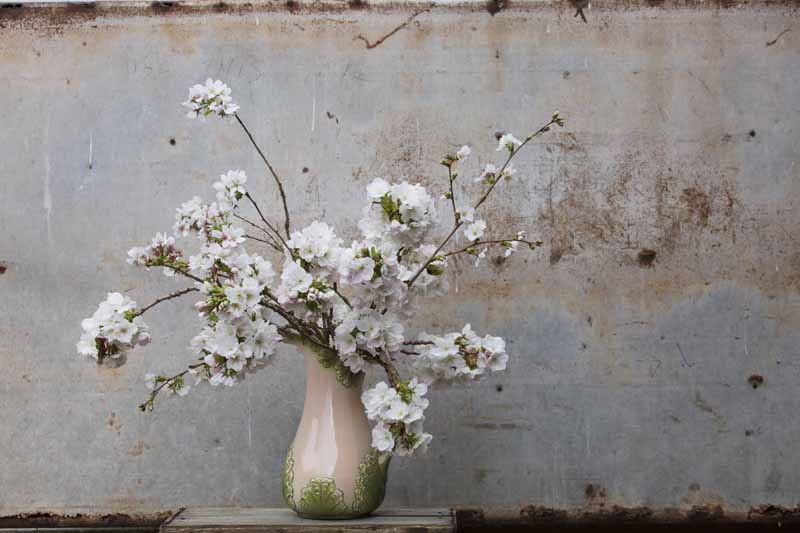
This longing was reinforced this year whilst working on a floristry book with Dorling and Kindersley in which I was commissioned to create a series of seasonal vase arrangements (more about that next month when the book comes out maybe…). As we progressed through the flowering months I struggled to find the right shape and finish of vessel to echo my seasonal selections. Instead of feeling compromised by what you can find, wouldn’t it be great if you could design and make that ‘enhancing’ vase, perfect in shape, colour and texture for your arrangement..?

I have always felt that the vessel, vase, container (whatever you choose to call it) is equally as important as the flowers. I guess I have become a little bored of vintage (apart from fan vases of course!), very very bored of jam jars and find the throwaway imports offered at the wholesalers rather depressing. Being a bit of a purist I wanted to explore the idea of everything about the floral design being not only homegrown but handmade….

My quest to throw that vase is ongoing – just before Christmas I spent three days on a residential pottery course at the wonderful West Dean College. For anyone who yearns for a bit of quiet, creative downtime in a gorgeous setting with great food I can highly recommend it. I was so excited by my progress that on my return I went and bought myself a pottery wheel. Now all I need to do is keep practising!
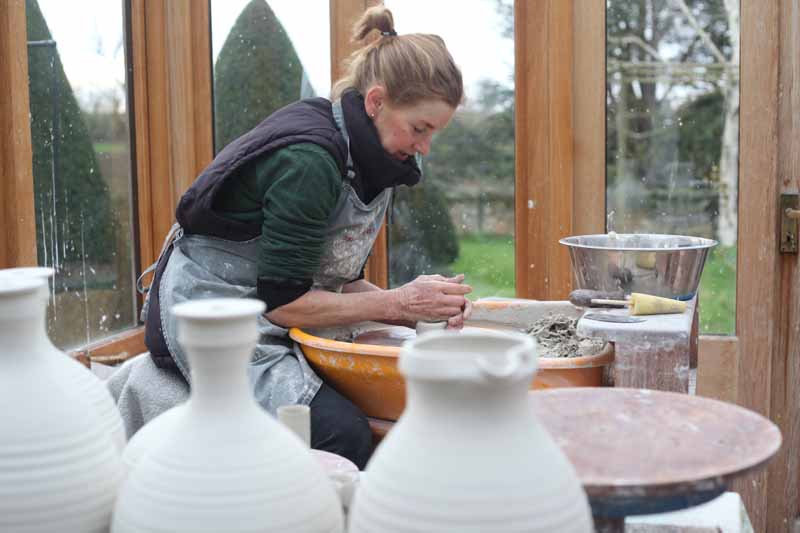
Anyway I am fortunate to also know a very talented potter nearby, Harriet Coleridge, so at the beginning of the year I asked her to make me some footed bowls to use as centrepieces for my wedding work. I recorded the process so you can see the skill and time it takes to make beautifully hand crafted pots. I have collaborated with Harriet for some years now for Artweeks and always enjoy the unique blend of my flowers and her pots.
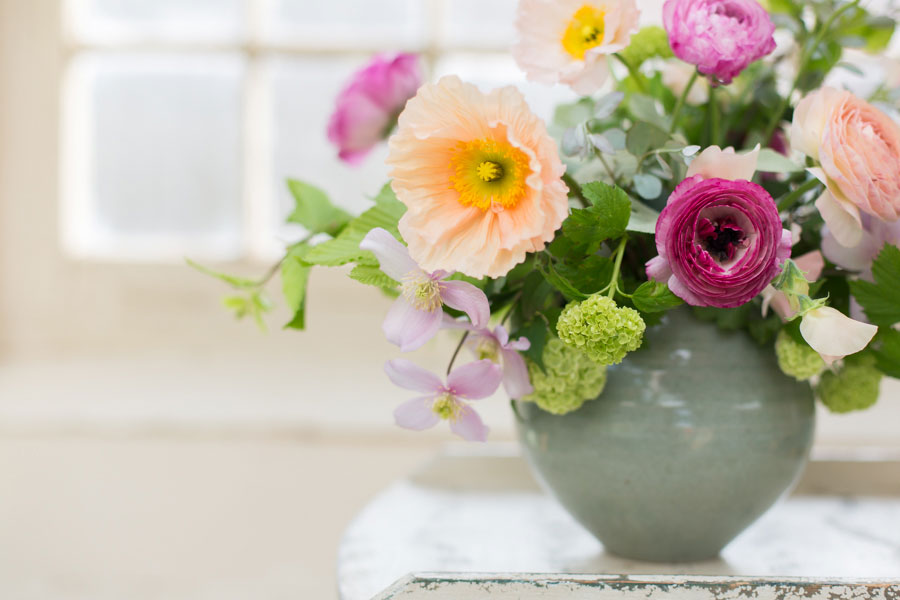
We decided to go for a stoneware clay which can take a bit of wedding wear with a tin glaze, which is white, shiny and opaque, a good neutral for the florals.
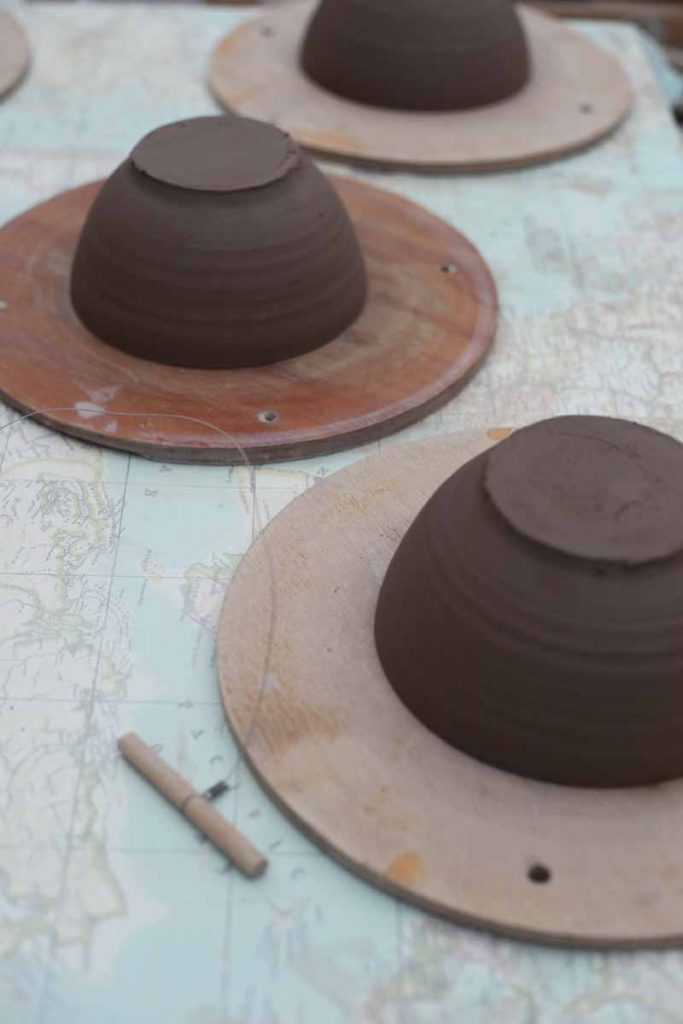
The first step was to throw a bowl the correct shape and size ten times.
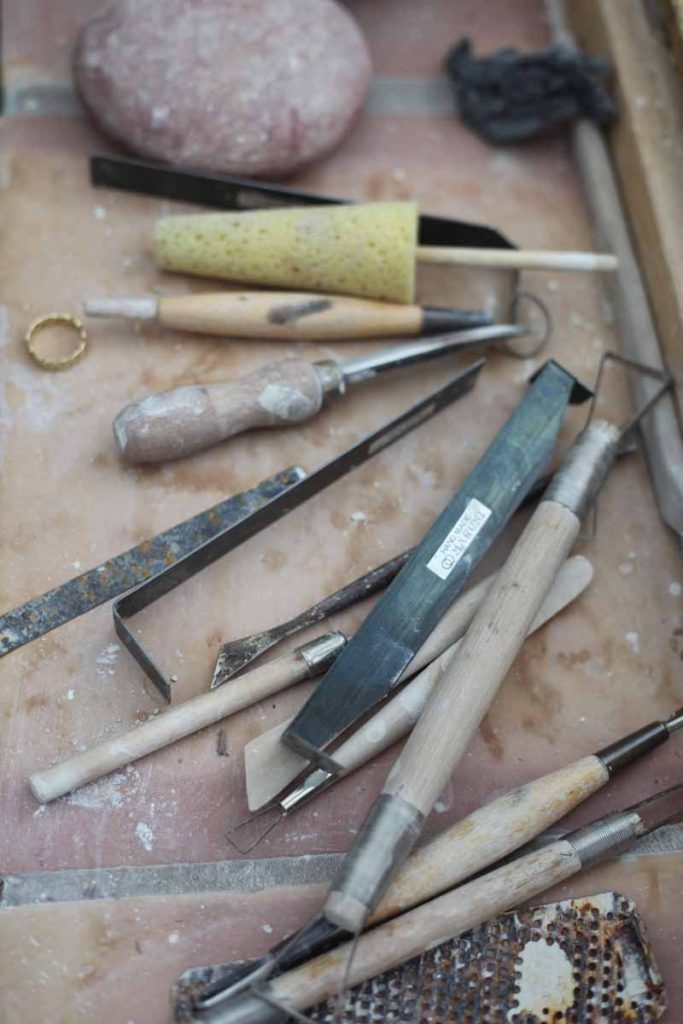
Some tools of the trade.
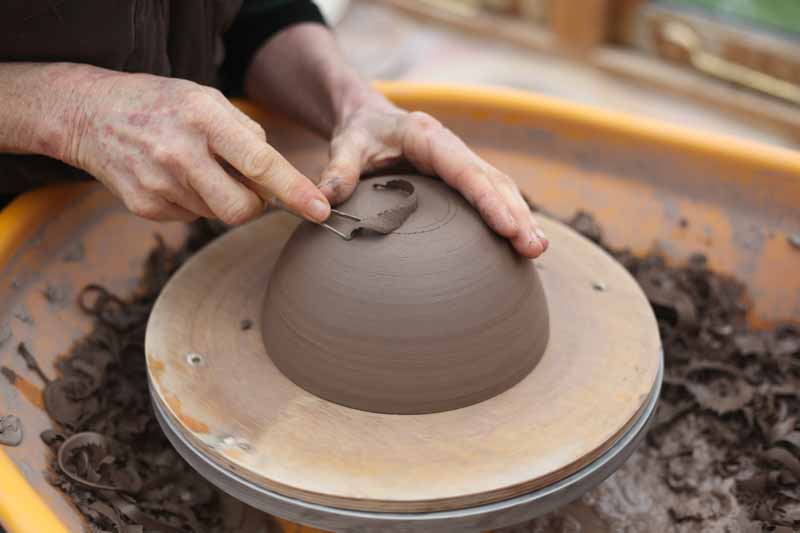
Once these were dried to the leather-hard stage they were ready to be trimmed to get a smooth curved shape ready for the foot to be attached. A bit of cross hatching marks the spot.
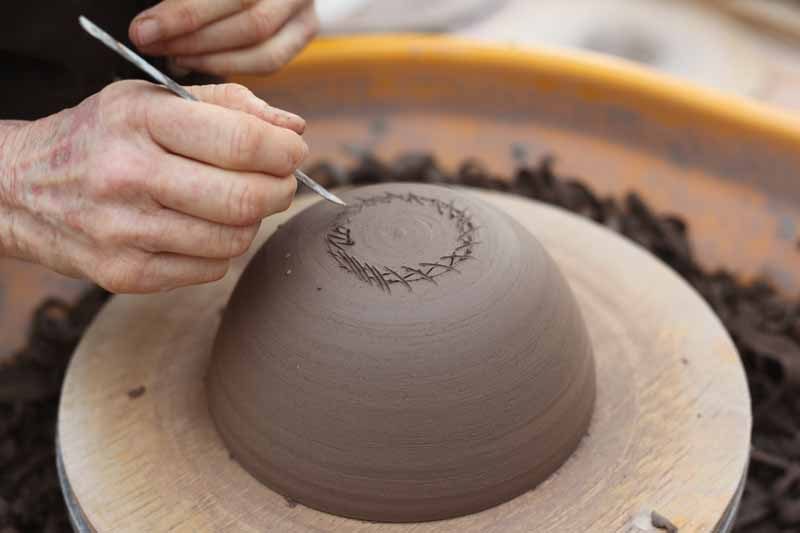
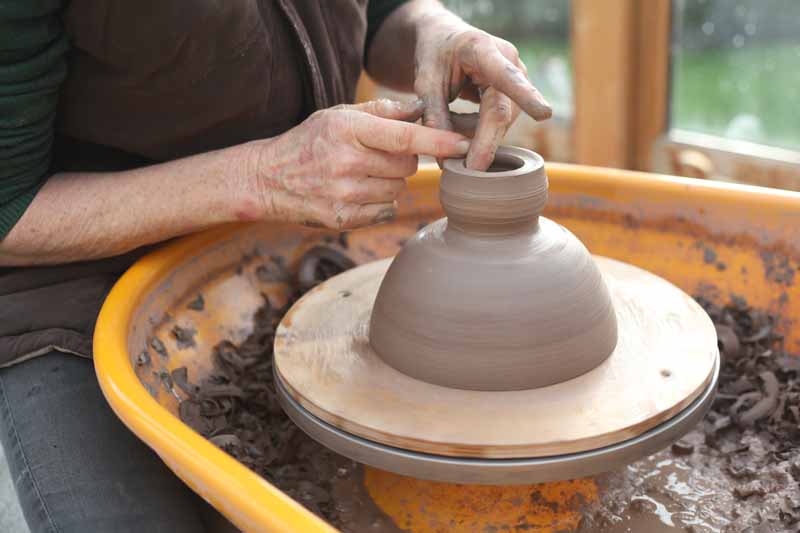
The foot is made separately by throwing a short cylinder of clay.
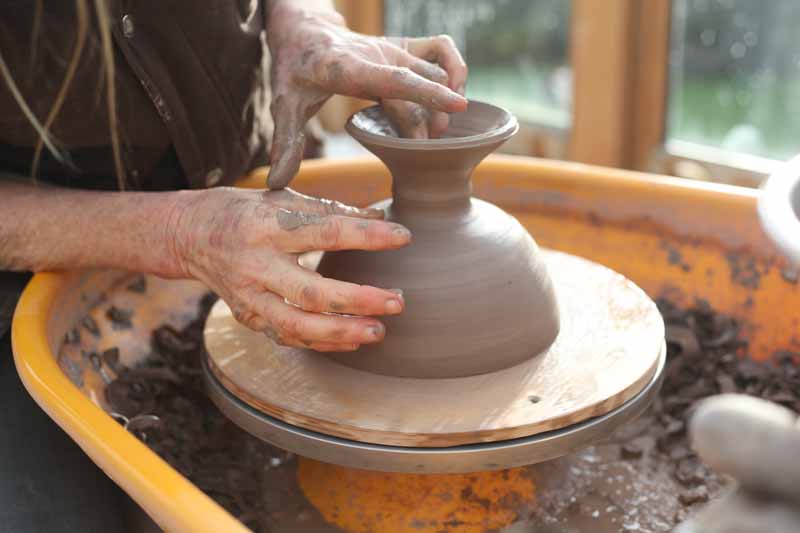
Once attached it is shaped on the bowl. Harriet makes this look easy but I can assure you it takes years of throwing to be so adept at it.
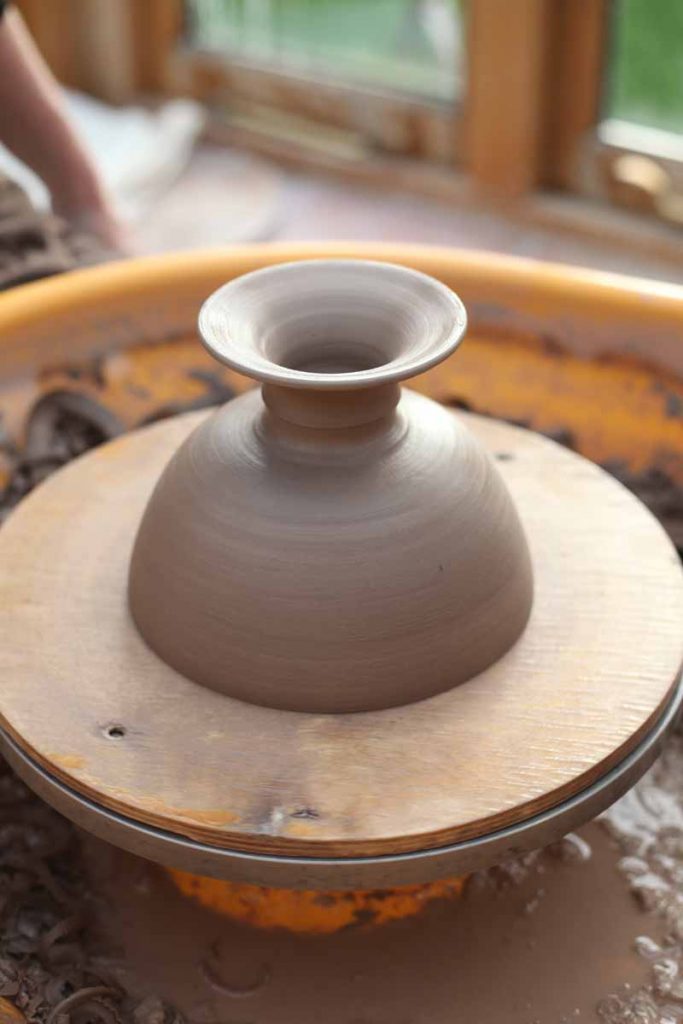
After a bisque firing the bowls are ready to be glazed. This requires a large bucket of well stirred glaze and a pair of tongs.

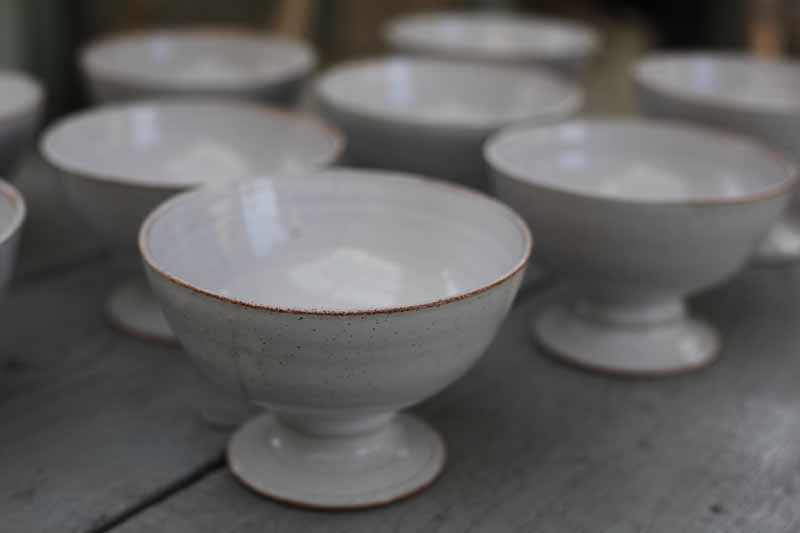
The finished bowls after their glaze firing, already booked for a number of weddings next year.
The next project for me and Harriet to work on will be to create a vessel for my first ‘All in the Vase’ workshop in the spring. I am imagining a wide, shallow shape to accommodate the fleshy stems of tulips, anemones and Ranunculus perhaps curving in slightly at the top to make arranging a little easier.
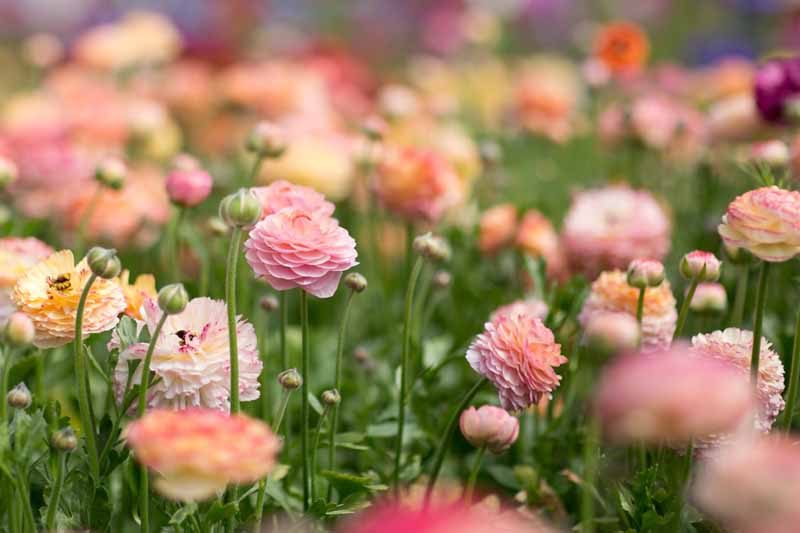
I have just put up dates for Summer and Autumn ‘All in the Vase’ classes, each will be quite distinct in the selection of florals and the vessels I source and create for them, if you would like to add to your vase collection and learn how to get the best out of them come and join us.

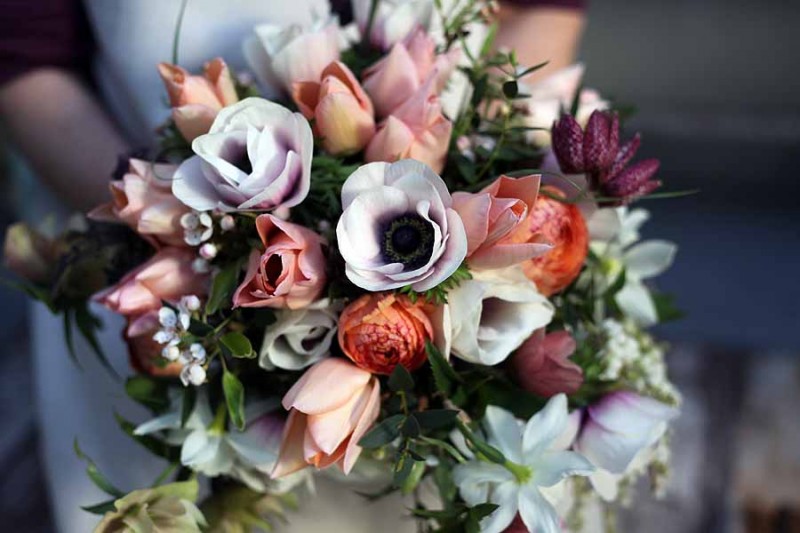
The Cultivated Palette Series – Anemones

IMG_8965

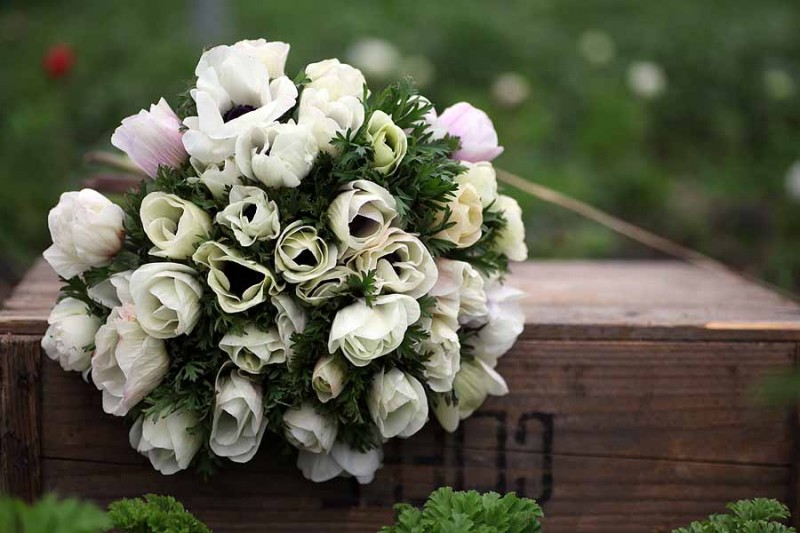
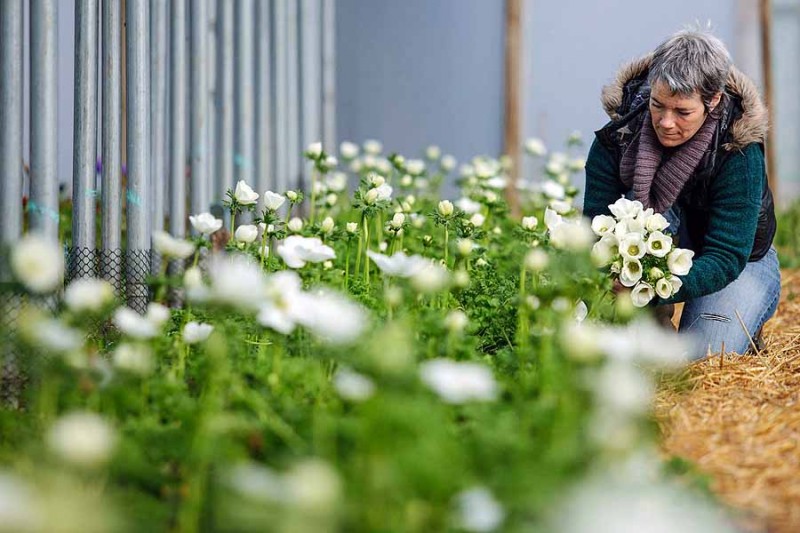
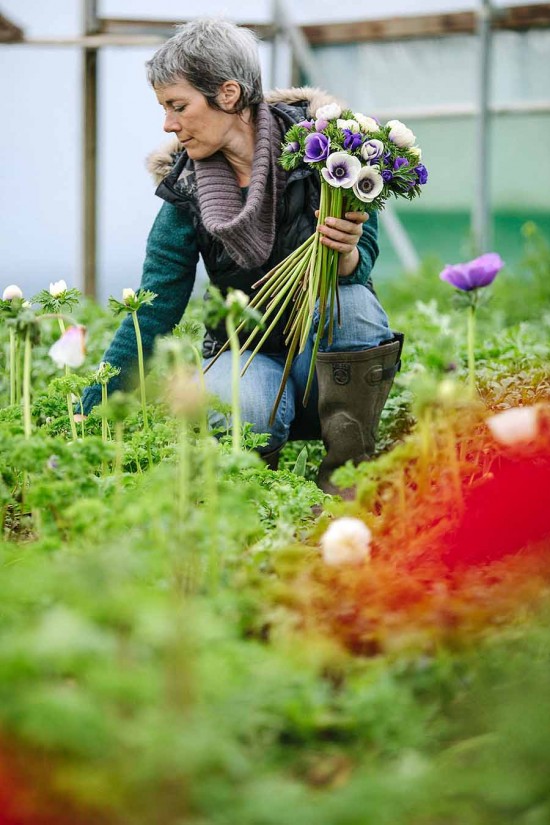
I have been picking Anemones in our tunnels today, they have started flowering a month earlier than expected this year, which to be honest is a bit of a pain as I am not in the full swing of weddings, farm gate sales or deliveries. So that means I get to have them in the house – great, generous vasefuls…what decadence.

IMG_9699

Looking back at my blogs I discover that I have written about them before in ‘Anemone Crush‘, I class them as one of my best sellers and a welcome bit of colour and cash flow after a long winter.


Green & Gorgeous - March -29

They are good little moneymakers with each corm producing up to twenty stems over a prolonged period of at least two months.

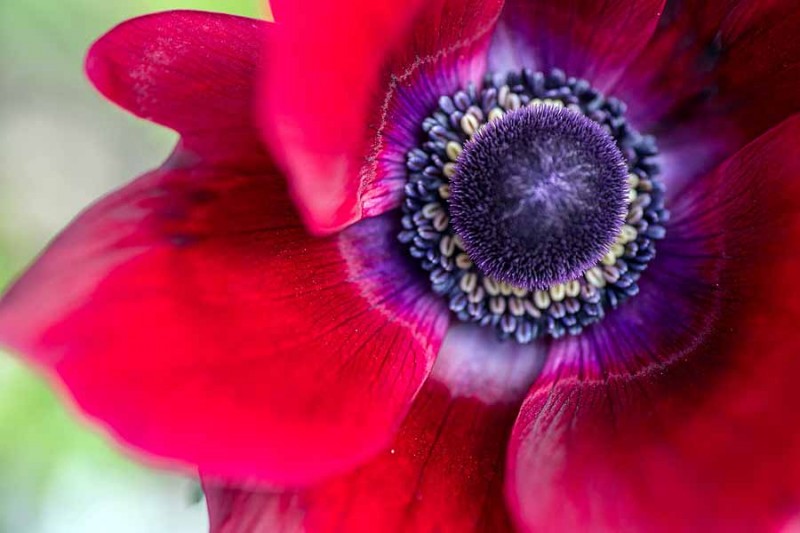
I am always intrigued at what makes a flower popular and I think in the case of the Anemone it has a multitude of assets to persuade people to buy, including it’s jewel-bright colours to jolt us out of our winter hibernation, a surprisingly long vase life and an irresistible sense of nostalgia.

CW__7463 (1)

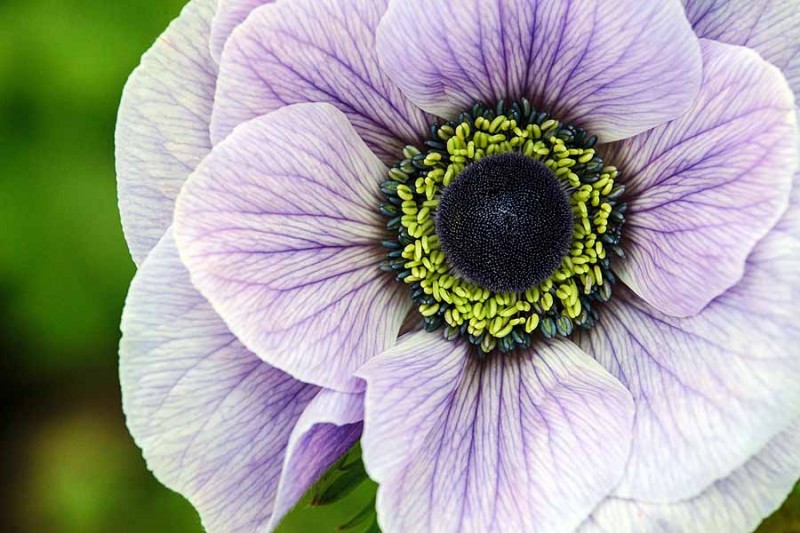
I source my corms from France and as they are cut flower grade they are expensive, more than Ranunculus claws so this is important to bear in mind when/if you are selling the cut flowers. They are bred in Israel (hence the biblical names), I have tried all the varieties and prefer Galilee, particularly the pastel range, which has stonking stems and good resistance to Botrytis which is an issue when growing in tunnels over winter.

Green & Gorgeous - March - 041

If you are not blessed with a tunnel or greenhouse I would recommend the Jerusalem strain for outdoors with a generous mulch, or opt for a Spring planting instead.

Green & Gorgeous - March -52

I try to get the corms tucked up in the polytunnel by late September/early October, as I find later plantings are never as productive. The growing area must be well prepared, we till in plenty of organic matter and give the bed a good soaking a few days before planting. Good, even moisture is essential particularly in the first couple of weeks, so we irrigate regularly during this period with 3-4 lines of t -tape across metre wide beds.

IMG_3843

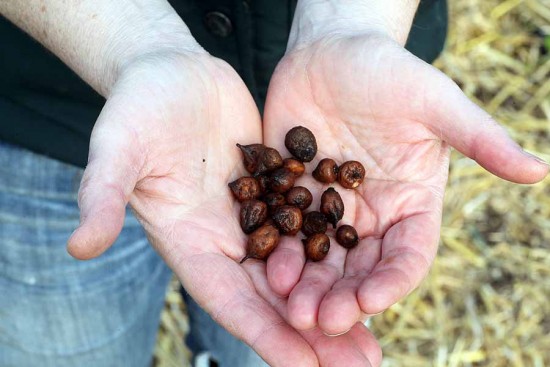
I soak the corms for about 24 hours before planting which helps to get them shooting quickly, but also makes it easier to see which way is up! They are dibbed in at about 20cm apart.

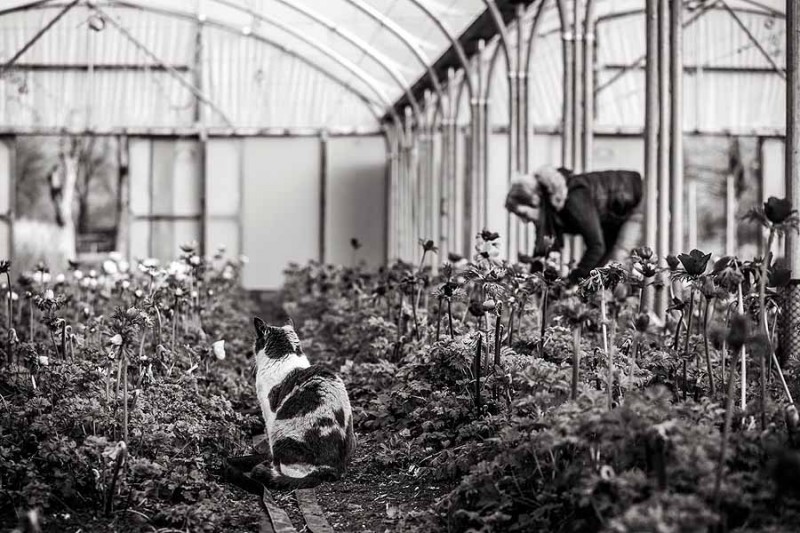
You may find voles are an issue, they love feasting on Anemone corms and can devastate a crop if not deterred. We use a combination of cats, garlic, chilli, traps, mole repellents and physical barriers. I know it sounds a bit over the top but this arsenal does seem to work.

Depending on temperature they normally start to flower in late February and then all you should have to do is keep picking.

Green & Gorgeous - March -42

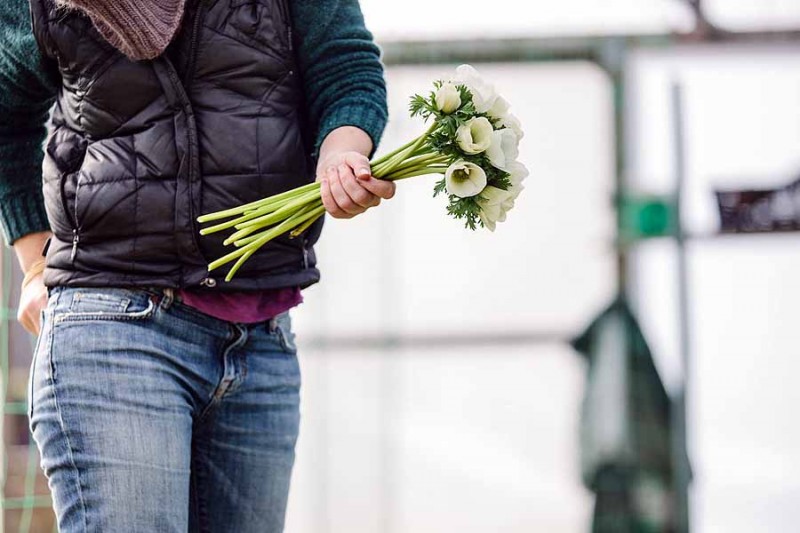
Anemones are one of the flowers I tend to pick myself as I have found people struggle to see when they are at the right stage. Too tight (or as I call it unripe) and they never reach their full potential.

Green & Gorgeous - March -46

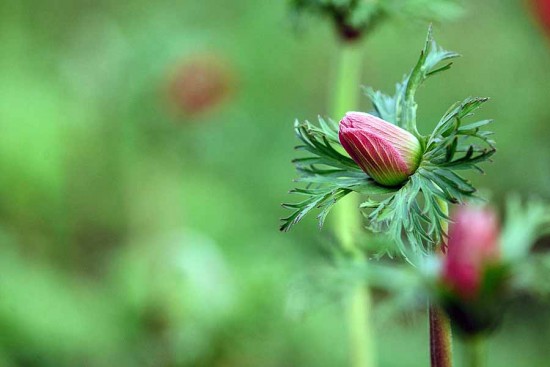
When they first emerge their heads are bowed down, wait until till they are pointing upwards and slightly open with the eye peeking at you.

Green & Gorgeous - March -35

I condition mine for 24 hours in bunches of ten with a band at the top and bottom of the stems, this helps to set them straight.

Green & Gorgeous - March -60

Once the crop has finished we clear and compost the corms. Anemones are prone to virus spread by aphids and I find they are never as good the following year, plus I need the precious covered space for the next indoor crop.

Next month I will be looking at tulips, my favourite varieties for cutting and the tricks to getting a quality cut stem which would make the Dutch blush!


All pictures by Clare West Photography

‘All of the Garden’ Bouquet

Clare West (photographer and lover of flowers – great combo) was with us again last month, you can see her blog post about what we are up to in the garden here.

I thought it would be an ideal opportunity to record the picking and making of our new All of the Gardenbouquets. They are exactly what they describe – everything that is in flower that week gathered into a gorgeous garden bouquet.

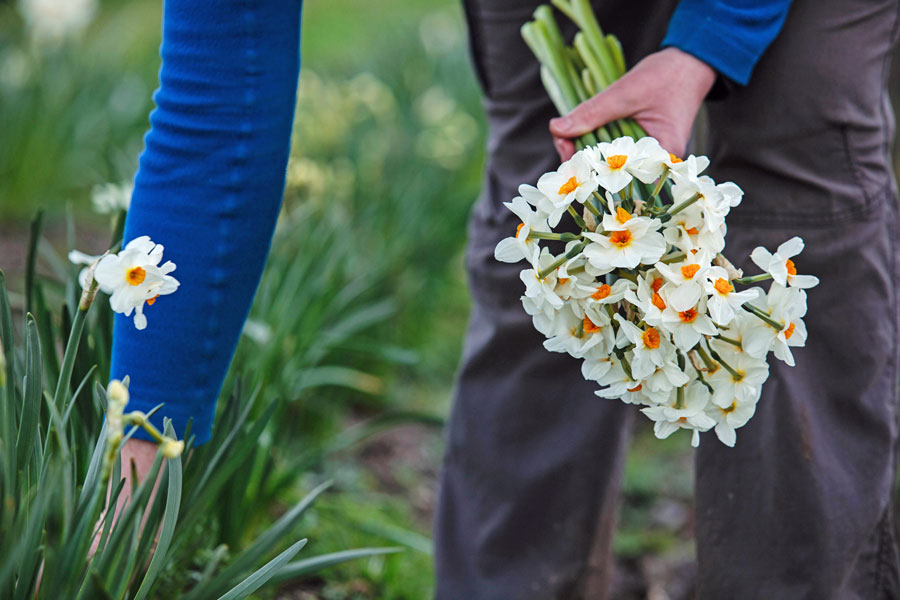
We started in the field by picking my favourite Narcissi variety ‘Geranium’ – wonderful scent and a good stem length for hand tied bouquets.

Picking-narcissi

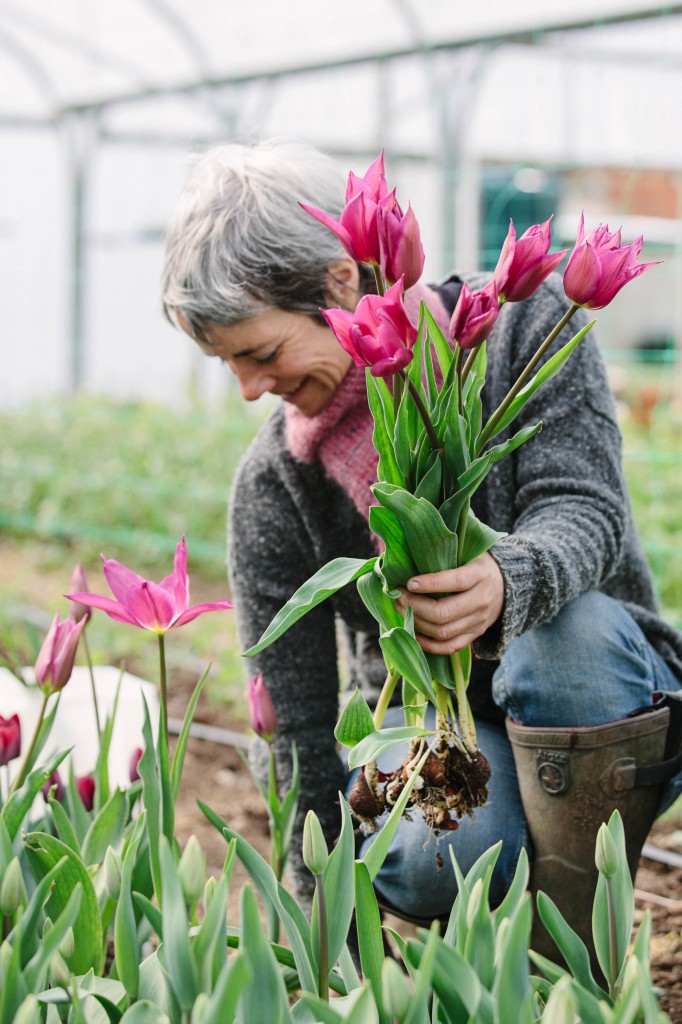
 Next it was in to the polytunnel to pull a few tulips, this one is a lily-flowered variety called ‘Purple Dream’. People are always alarmed to see me pulling the whole tulip out of the ground and snipping off the bulb. We treat them as annuals so that harvesting and clearing the ground for the next crop is done in one go. The bulbs are composted and I get to choose new varieties for the following year.


Green & Gorgeous - March - 056


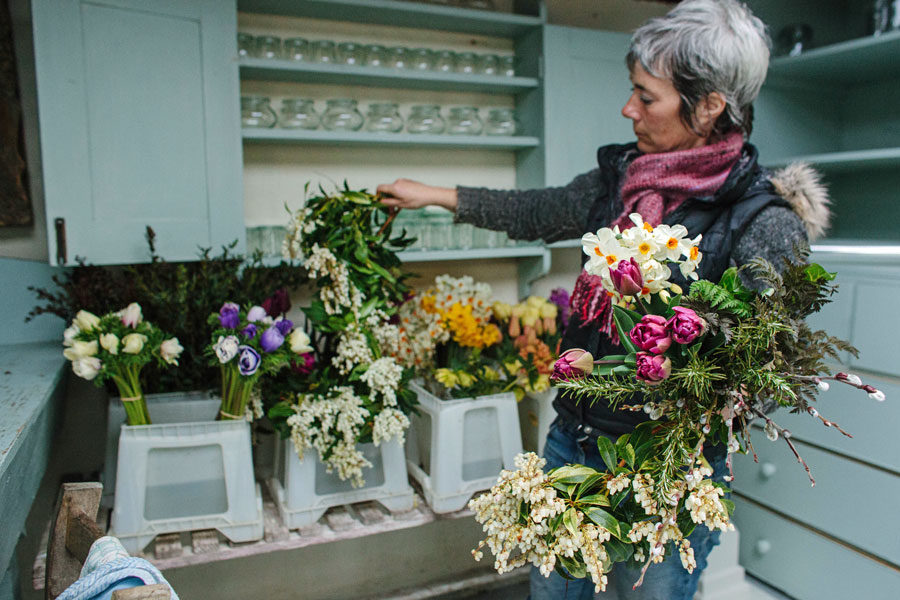
Once everything is picked, it is off to the flower studio to assemble my bounty.


rae-in-flower-studio


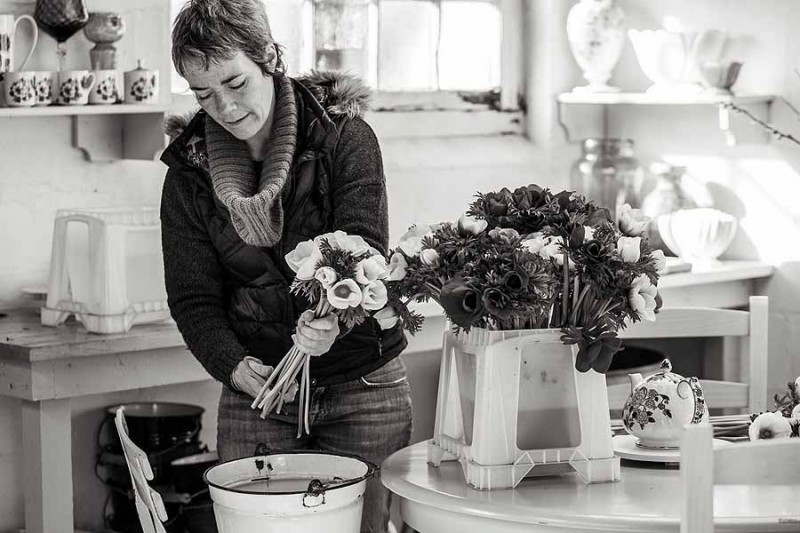
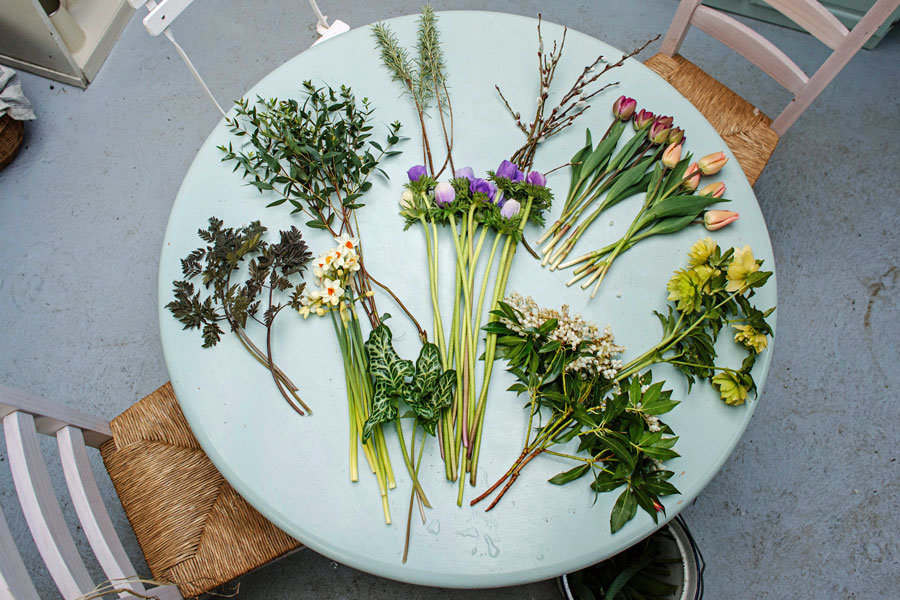
All the flowers and foliage are stripped of lower leaves and laid out in piles on the table. The more variety of materials the more textured and natural it will look, ideally I like to use about twelve. Here I am using (from left clockwise) Anthriscus ‘Ravenswing’, Eucalyptus parvifolia, Rosemary, Pussy Willow, Tulips ‘Blue Diamond’ and ‘Apricot Beauty’, Hellebore ‘Harvington Double Yellow’, Pieris, Anemones ‘Galilee Pastel Mix’, Arum italicum and Narcissi ‘Geranium’.


Green-&-Gorgeous---March---


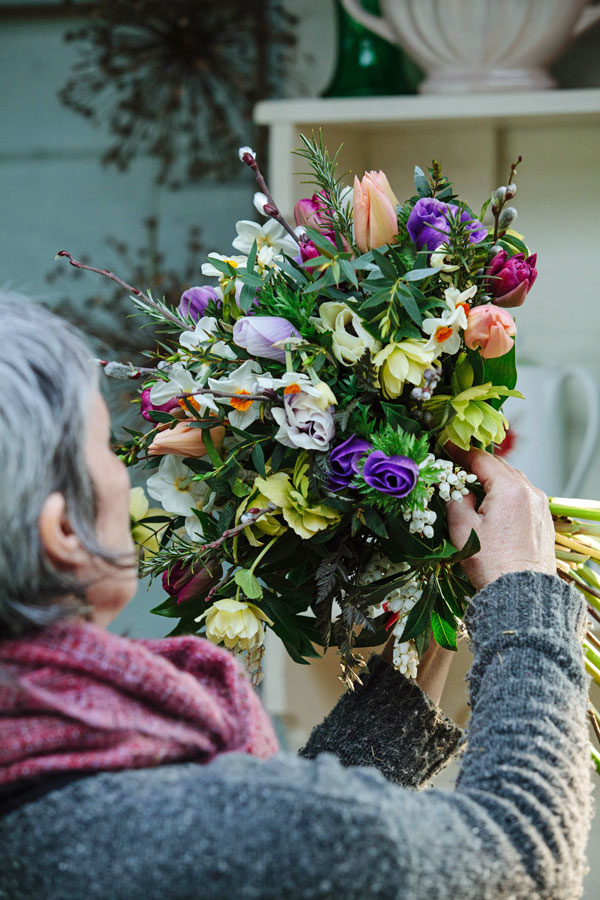
Now I flex my hand muscles and get to work, I will keep going until everything on the table is used.


Green-&-Gorgeous---March---

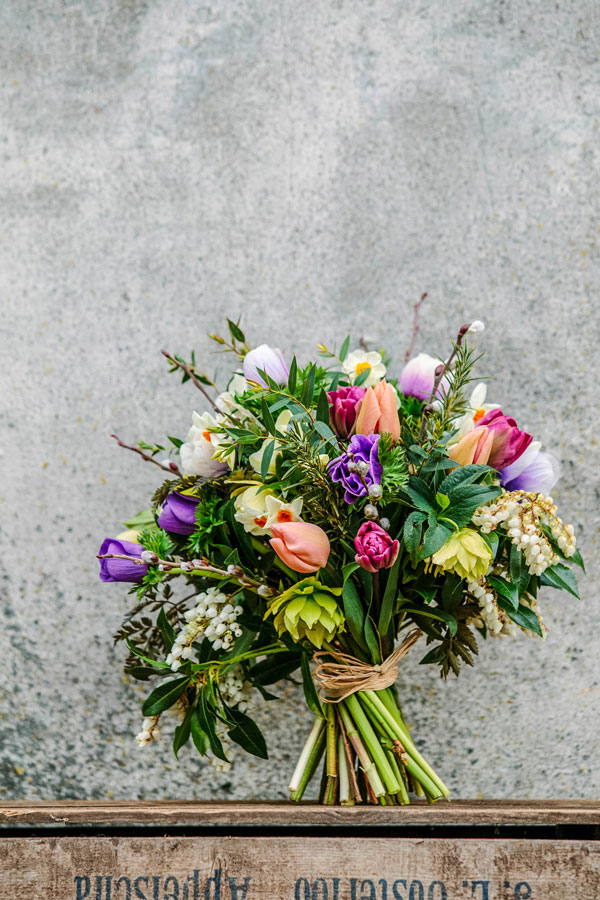
The bouquet is tied off with raffia and will be aquapacked and placed into one of our specially designed transit boxes. Off for next day delivery to one lucky recipient! You can order one of our mail order bouquets here.


lr5-173