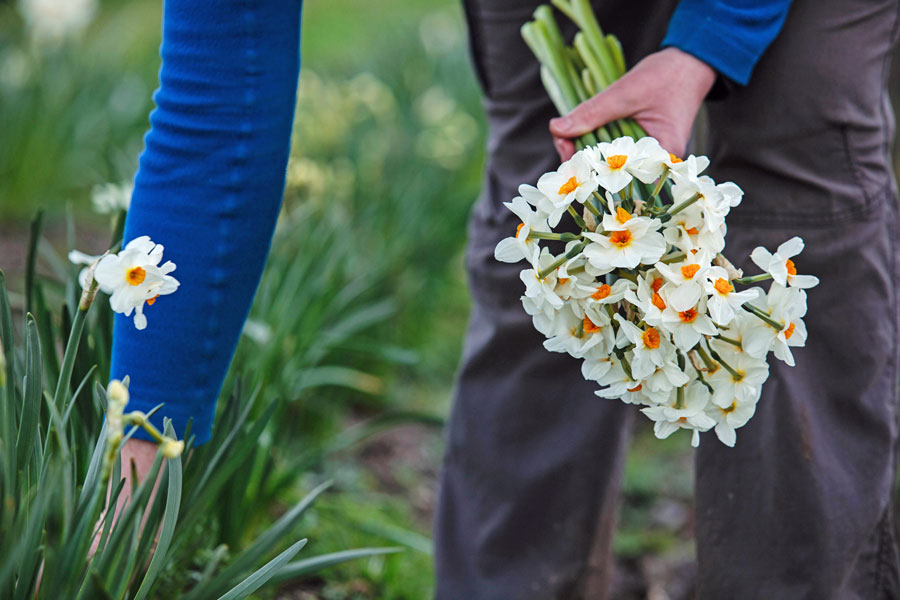
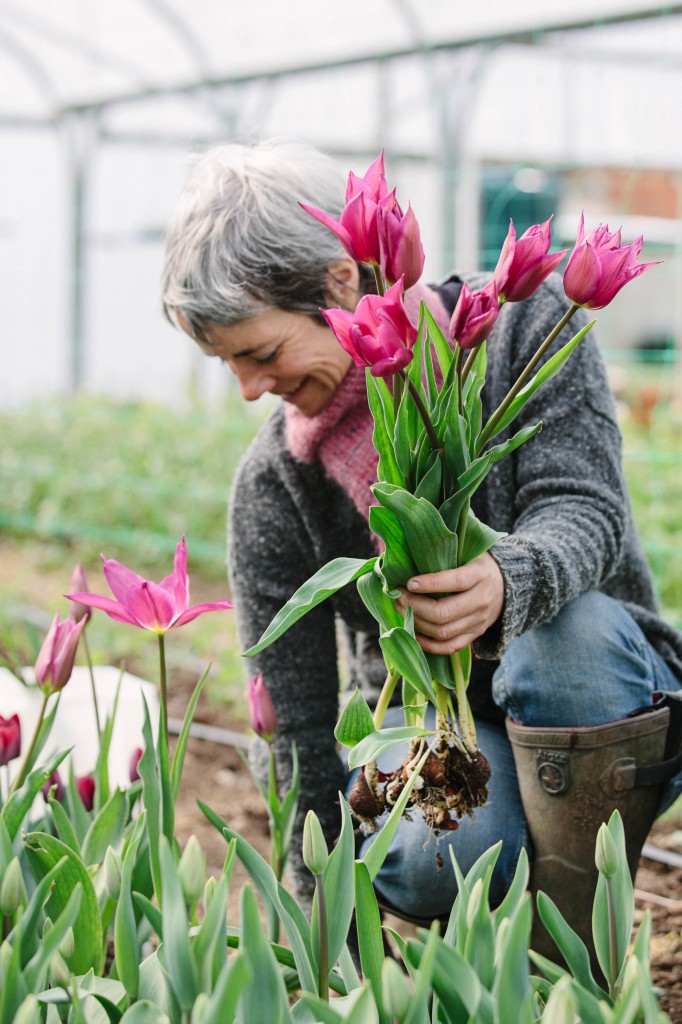
My first Flower Club was a cake-fuelled floral extravaganza! We had some sunshine too, but it was not too hot – perfect weather for wandering through the cutting beds picking and designing a bouquet.
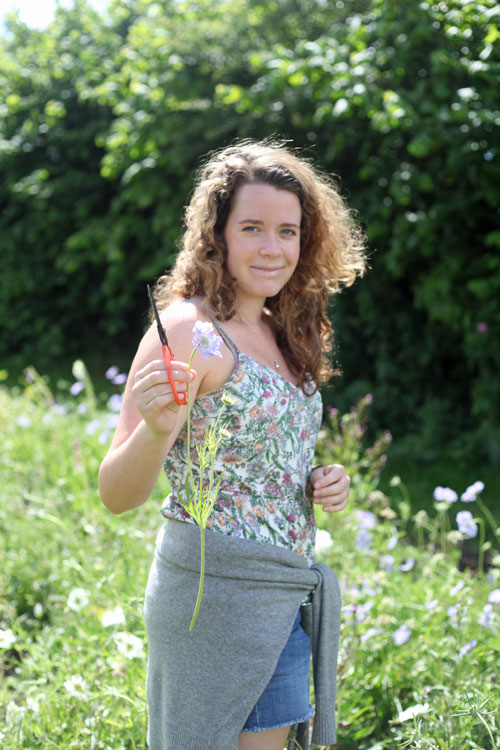
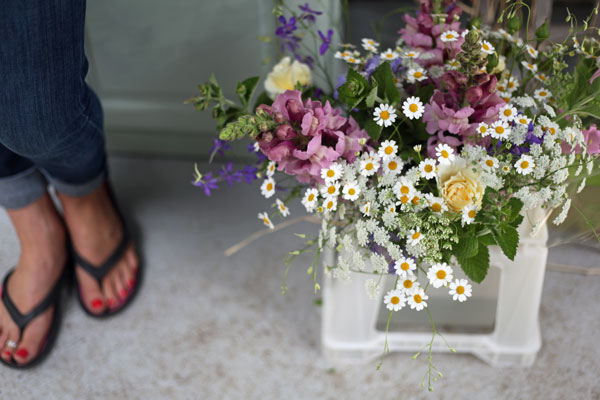
A bit daunted at first, everyone came back with buckets to condition in our chiller before taking them home to practice later. Each selection could not have been more different, a unique expression of what is looking good in the garden right now.
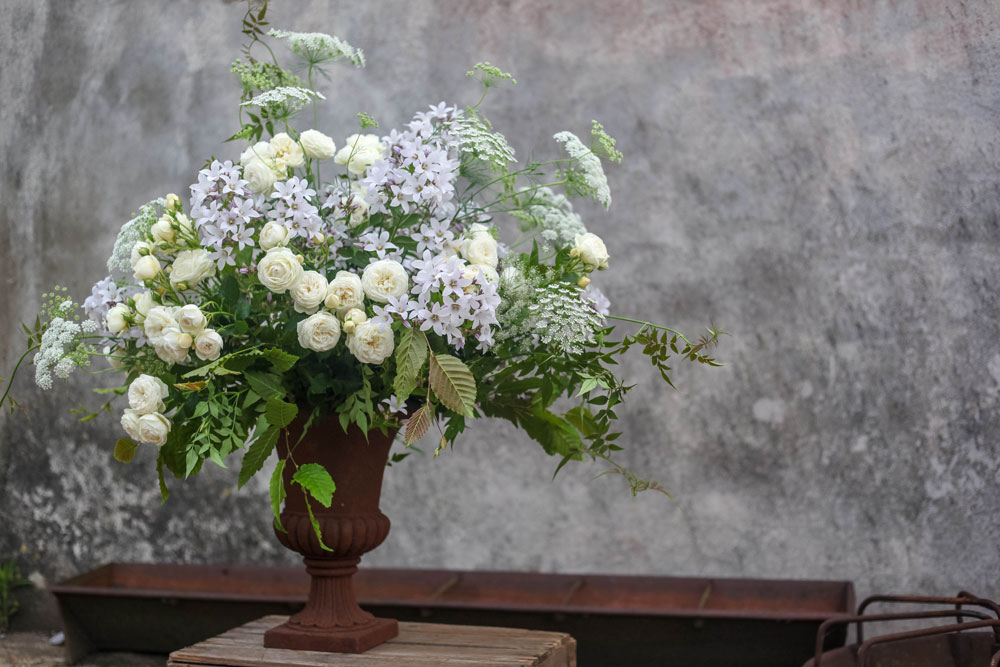
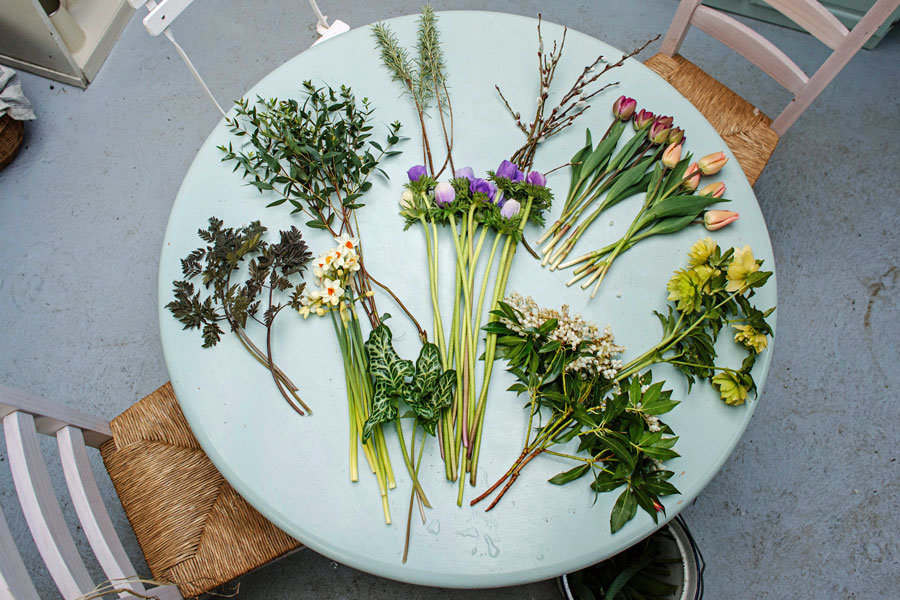
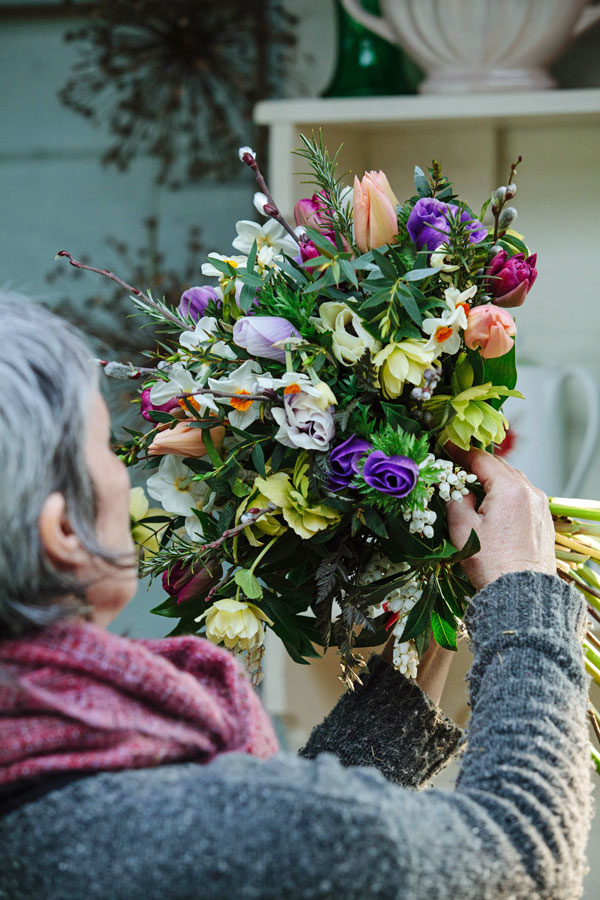
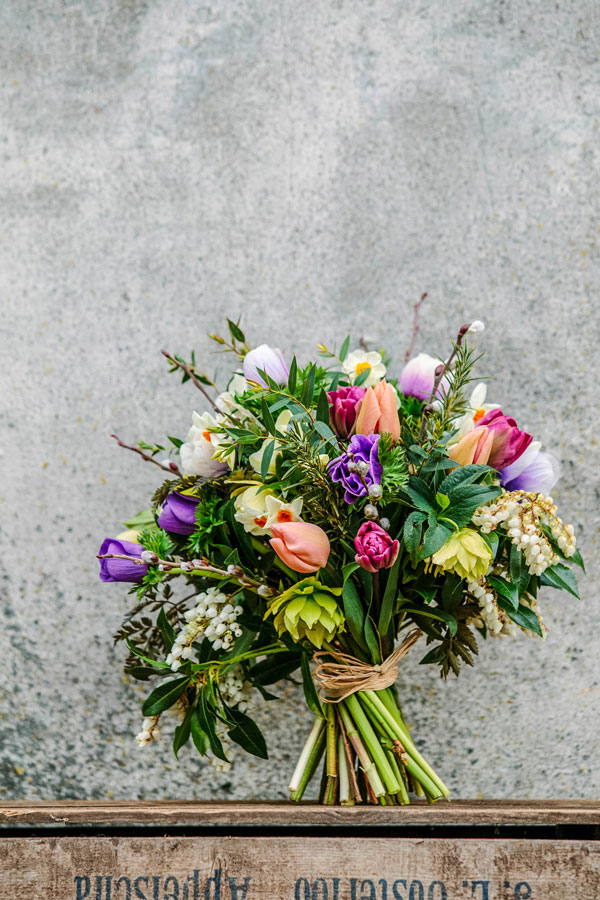
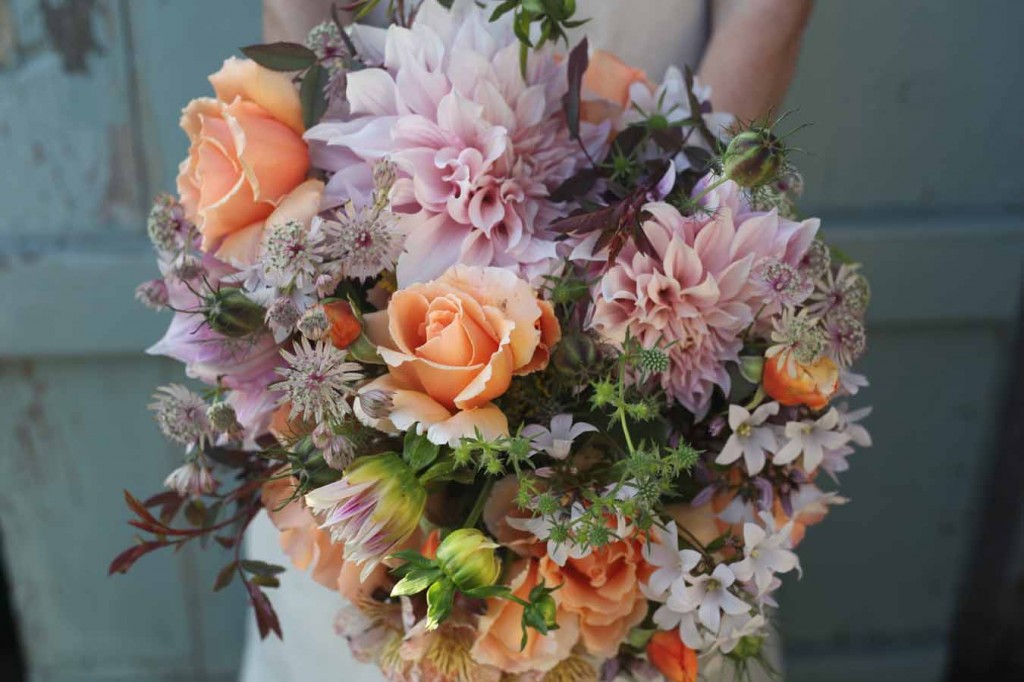
After sampling the results of my latest bake – chocolate pecan nut brownies and lemon drizzle cake. I went to work demonstrating how to make a natural, sumptuous hand tie – this was my pick of the garden – Rose ‘Just Joey’, Dahlia ‘Cafe au Lait’, Alstromeria ‘Elvira’, Astrantia, Campanula lactiflora, Scabious ‘Ping Pong’, Dill, Rosa glauca, Nigella seedpods and Eryngium planum.
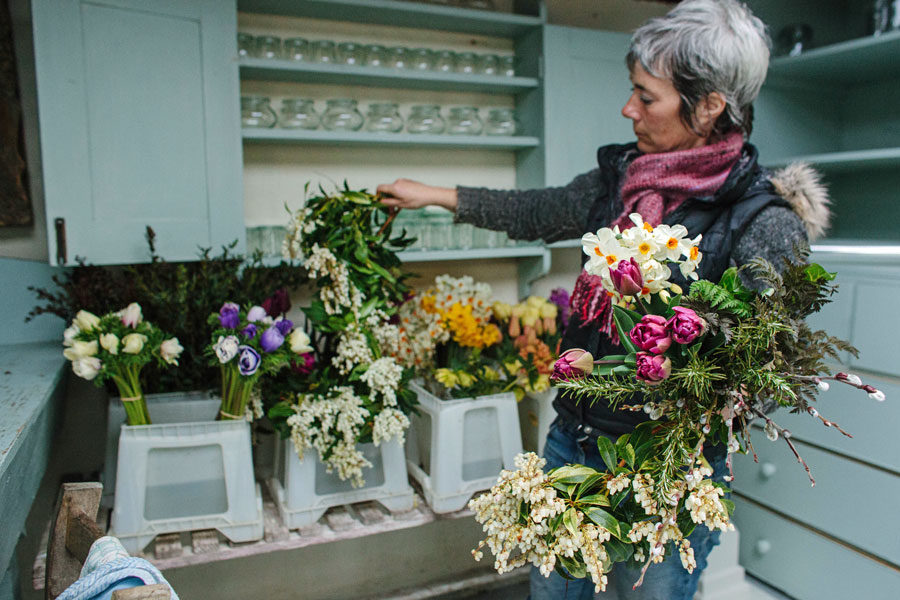
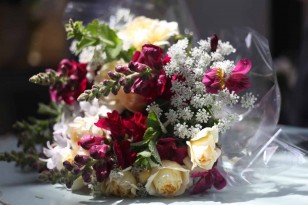
With a generous selection of flowers set out in my new smart buckets (previously picked and conditioned) it was now time for everyone to make some more decisions and make their way to the flower studio and in quiet concentration put together some beautiful hand ties.
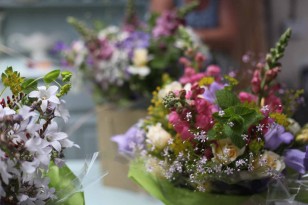
We finished with an aquapacking session and tissue lined bags were filled and at the ready for everyone’s artistry to be carried home.
Here is what Linda Dixon said about the morning “I had a fabulous time on Sunday; it was fun, instructive and challenging – looking forward to the next Flower Club”.
On the subject of floristry I am gearing up for my floral demonstration at Hampton Court next week, I will be in the Roses and Floristry Marquee on Thursday 10th July at 5pm. My subject is ‘Natural Showstoppers’ which will be basically something big and wild without the use of florist’s foam.